
Secure Login
Users access the web application through a secure login screen. This leads directly into the Super Admin dashboard.
Super Admins can assign granular permissions by role, manage the full restaurant and user list, and configure subscription plans Basic, Pro, or Legion Special so every account gets exactly the access its plan allows.
Book A Demo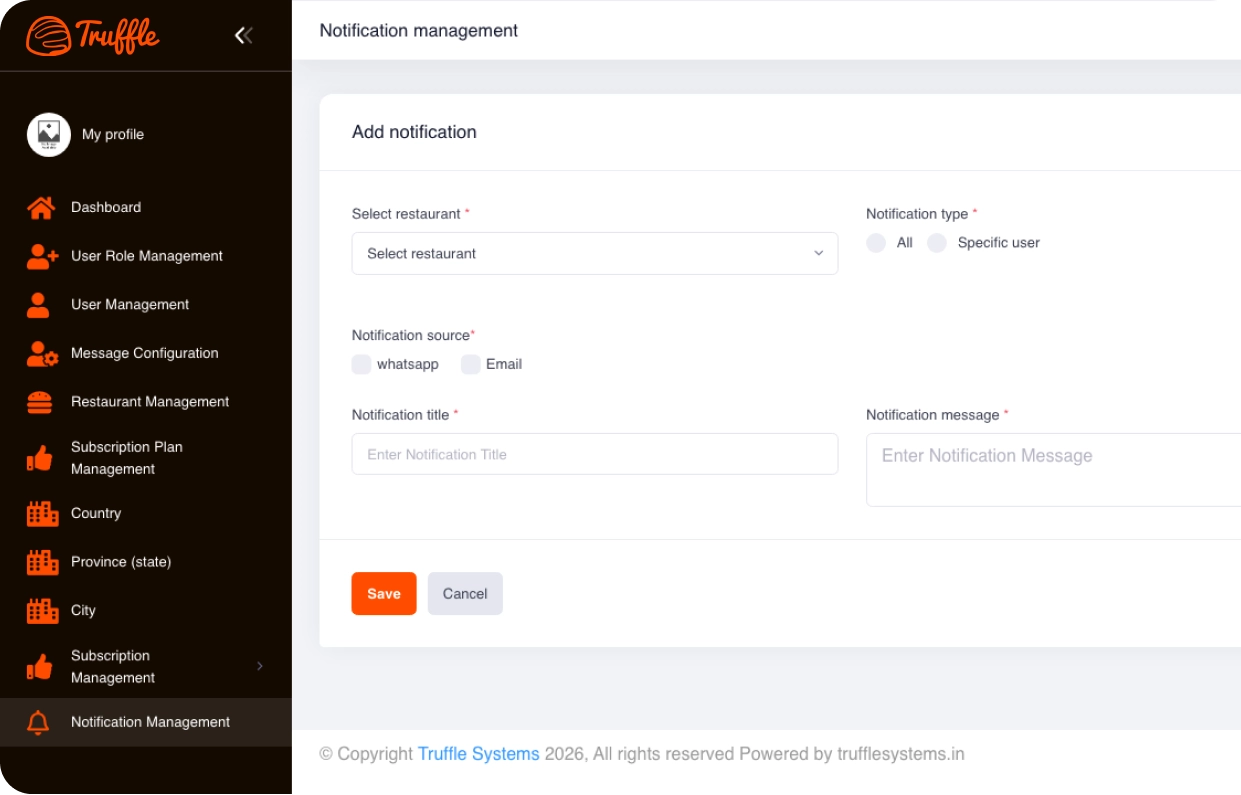
From onboarding a new restaurant to assigning role permissions, the Super Admin dashboard gives platform owners full visibility and control over every account running on the system.
Users access the web application through a secure login screen. This leads directly into the Super Admin dashboard.

Displays overall owners, customers, selling, and collection data in one view. Notifications keep the Super Admin updated on all system activities instantly.

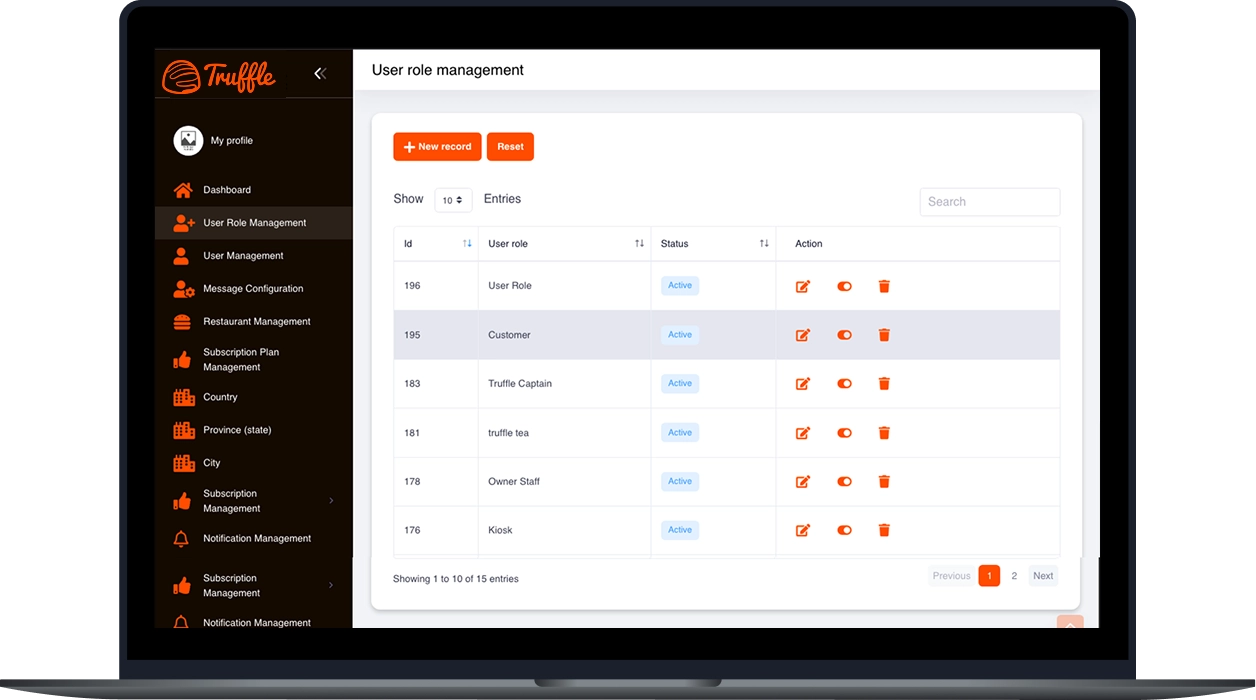
Specific Modules and Actions like List, Create, Edit, Delete, Status, and View can be assigned. This ensures each user role has access only to relevant permissions.

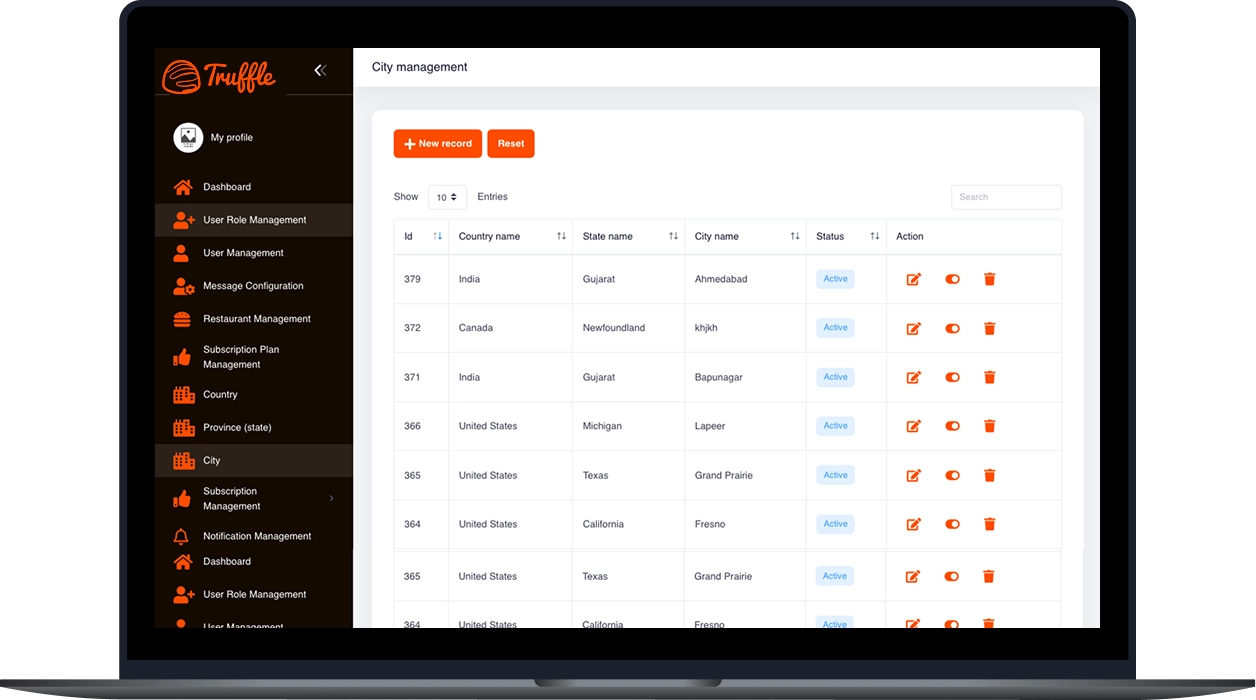
Super Admin can browse, add, edit, or remove users across applications and websites. Users can also be set active or inactive from the actions section.

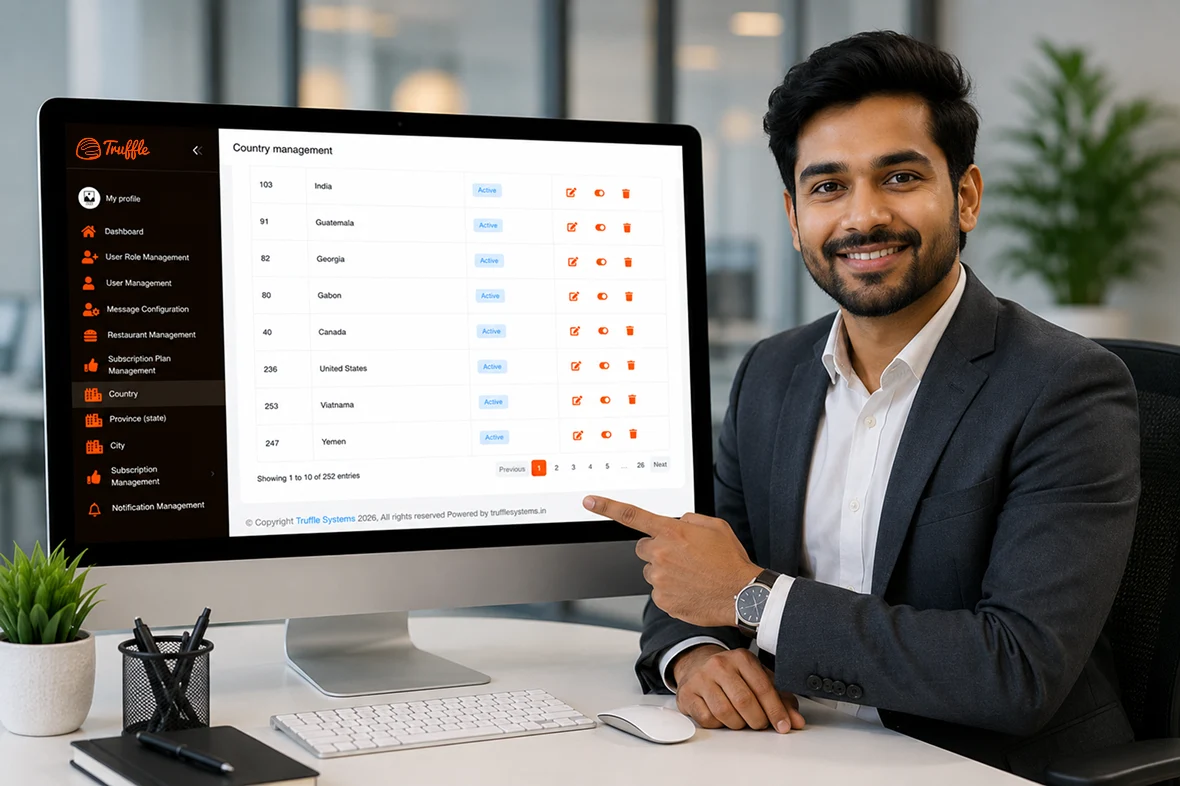
Super Admin can view, add, modify, or remove restaurants from the platform. Restaurant status can be toggled active or inactive as needed.

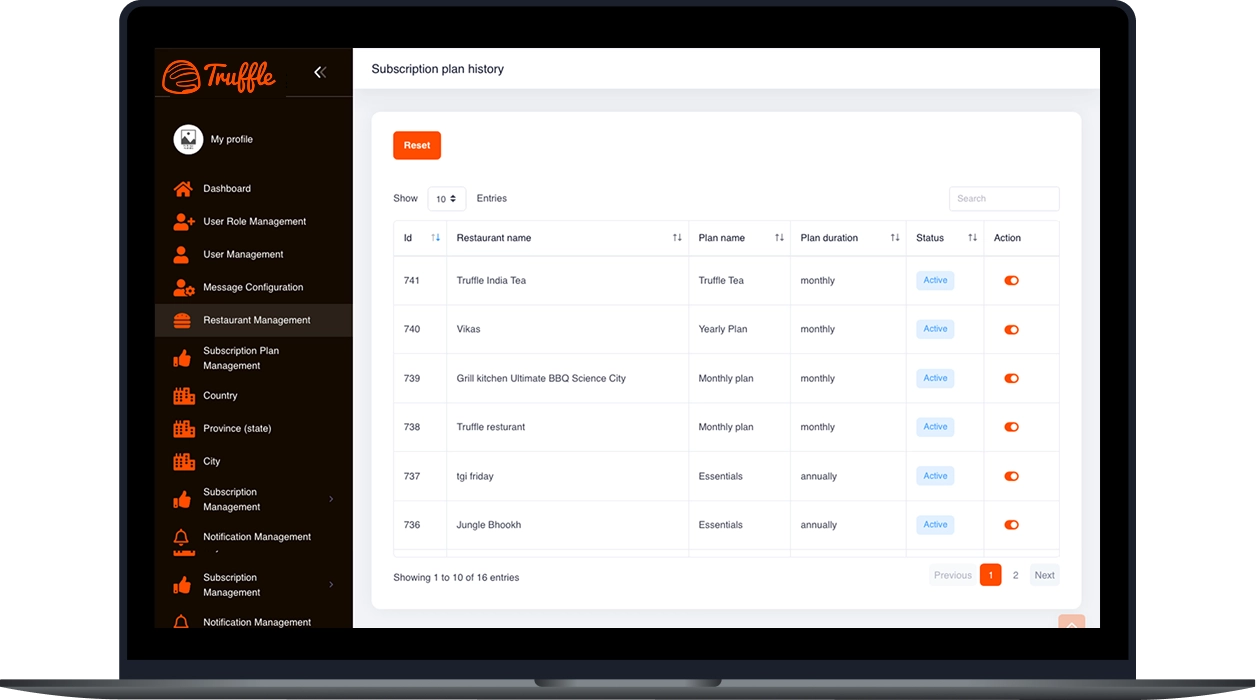
New restaurant accounts can be assigned plans like Basic, Pro, or Legion Special. Plans can be selected on either a monthly or annual billing basis.

New subscription plans can be created with specific service allowances. Existing plans can be modified, removed, or activated/deactivated as required.
Managing restaurants and roles, the same dashboard surfaces a live snapshot of the whole platform — total owners, customers, sales, and collections plus notifications, so the Super Admin always has a real-time read on system-wide activity without digging through individual accounts.
Ten core capabilities that make Super Admin the only tool your front-of-house needs.

A Super Admin account is created with full platform-level access by default. This account serves as the highest authority across the entire system.

Super Admin logs into the web application using registered credentials. This grants immediate access to the dashboard and all administrative modules.

Super Admin reviews the dashboard showing owners, customers, sales, and notifications. This provides a quick understanding of overall platform activity.

Super Admin defines user roles and assigns specific Module/Action permissions. Options like List, Create, Edit, Delete, Status, and View are configured per role.

Super Admin adds initial users for the admin application as needed. User details are configured, with statuses set to active or inactive.

Super Admin adds new restaurants to the platform with relevant details. Each restaurant is configured before being activated for use.

Super Admin sets up subscription plans such as Basic, Pro, and Legion Special. Each plan is configured with specific allowances and billing cycles.

Newly onboarded restaurants are assigned a subscription plan. Billing is set on either a monthly or annual basis based on preference.

Super Admin reviews user roles, restaurant entries, and plan assignments. Any configuration issues are resolved before the system goes live.

The Super Admin panel becomes fully operational for daily platform oversight. Ongoing management includes monitoring users, restaurants, and subscription plans.
From cozy cafes to bustling fine-dine Restaurants, we support all outlet types for seamless operations and growth!




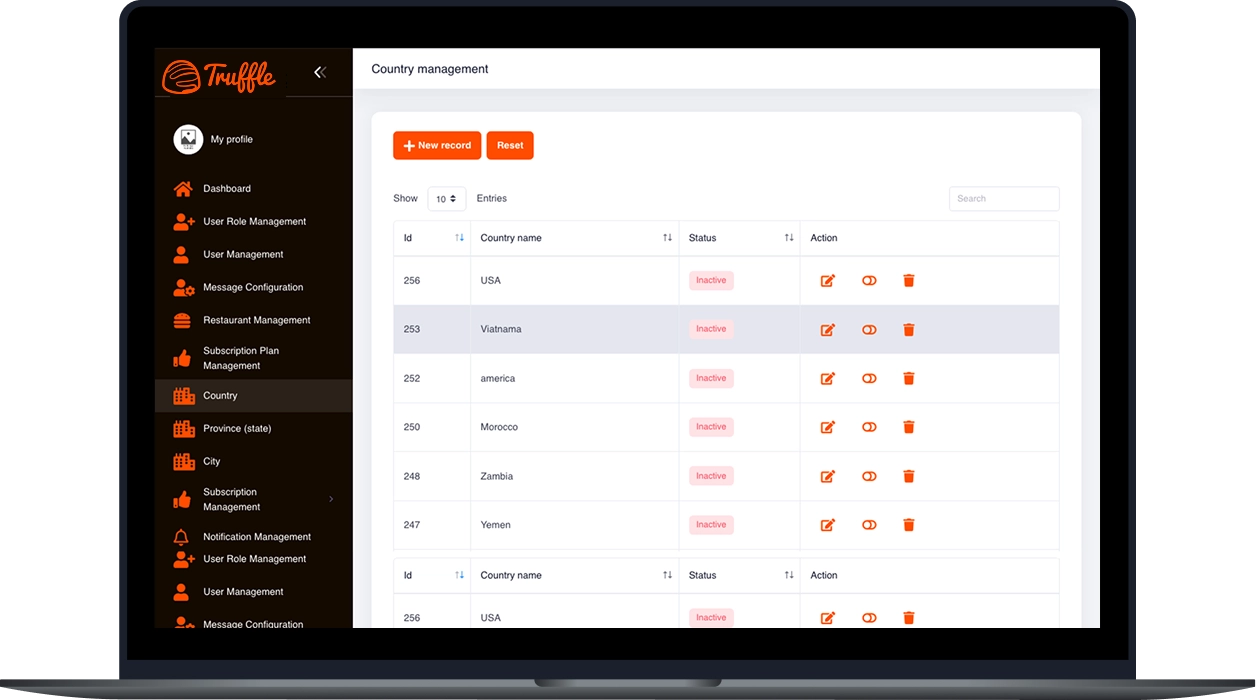
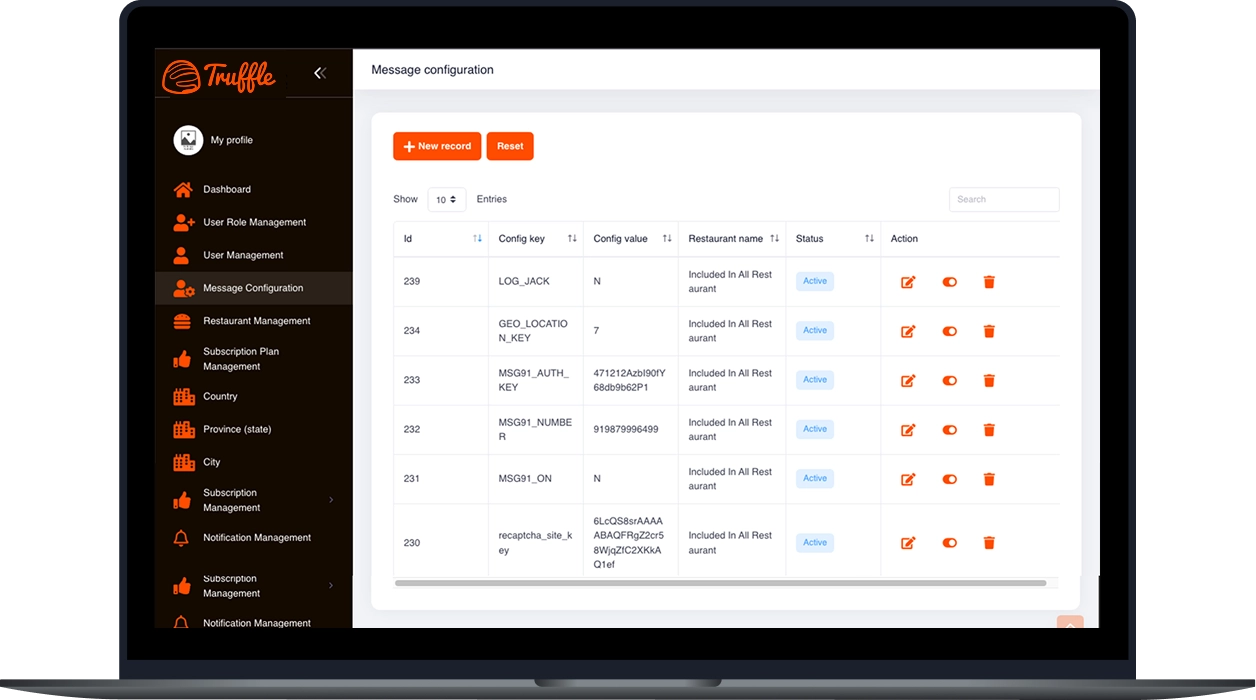
Deleting a subscription plan may affect restaurants that are currently subscribed to that plan, as the plan reference will be removed. Before deleting a subscription plan: 1.Check whether any restaurants are actively using the plan. 2.Migrate all active restaurants to another subscription plan. 3.Delete the plan only after ensuring no restaurants are assigned to it. Note: Deleting a subscription plan is irreversible.
To add a new branch: 1.Ensure the restaurant's subscription plan allows additional branches. 2.Go to the restaurant's Admin Settings with access to the Restaurant Branch module. 3.Open Restaurant Management and edit the restaurant. 4.Navigate to the Branch Management section. 5.Enter the new branch details, including the branch name, address, time zone, and other required information. 6.Make sure the Multi Location module is enabled in the role permissions for the user managing branches.
If you cannot assign a POS license, check the following: 1.Verify that the subscription plan has available POS licenses and the license limit has not been reached. 2.Ensure your role has the required POS Licenses module permissions (such as List). 3.Confirm that the restaurant's subscription is Active. 4.Note any error message displayed and share it with the technical support team. 5.If the issue persists, contact the technical team, as POS license allocation may require backend processing.
To create a new user: Go to User Management from the left sidebar. Click New Record. Fill in the required information, including:Full Name, Restaurant, Role (Owner/Admin), Username, Email Address, Mobile Number, Date of BirthPassword, Confirm Password, Gender, Profile Image (optional) 4.Click Save. The new user will be able to log in using the credentials you provided.
Go to Subscription Management → Refund Management. Use the Search bar to enter the restaurant name. The system will display all refund records for that restaurant, including details such as Payment ID, Plan Name, Plan Amount, Plan Duration, and Refund Status, providing the complete refund history.
Go to User Role Management and use the Search bar at the top of the role list. Enter the role name to filter the list and display matching results. You can then use the Edit or Delete option for the selected role.
Experience the future of transactions! Schedule a demo today and witness how our POS solution can revolutionize your business.