
Login & Access Control
Owners log in securely with role-based access permissions. Sensitive business data remains visible only to authorized users.
Menu, staff access, promotions, and payment settlement across all your locations are managed from a single dashboard, instead of juggling separate systems per branch.
Book A Demo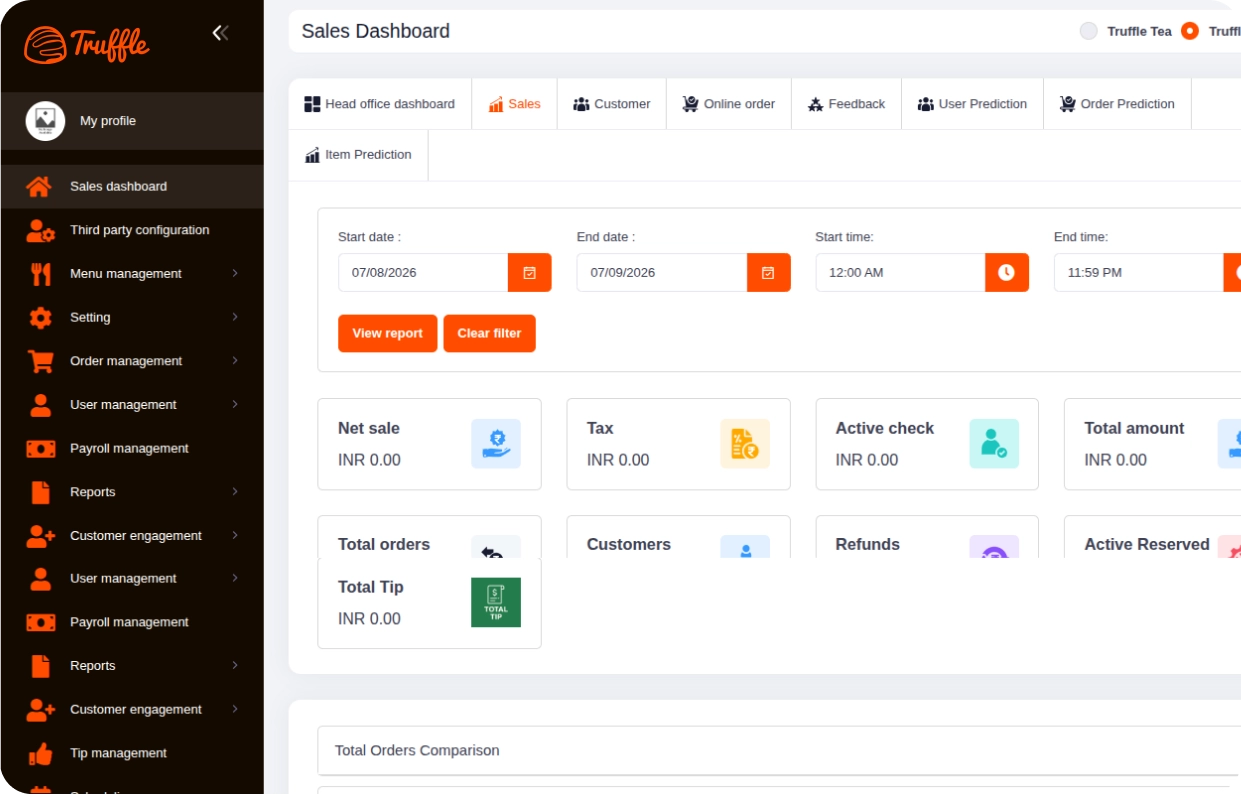
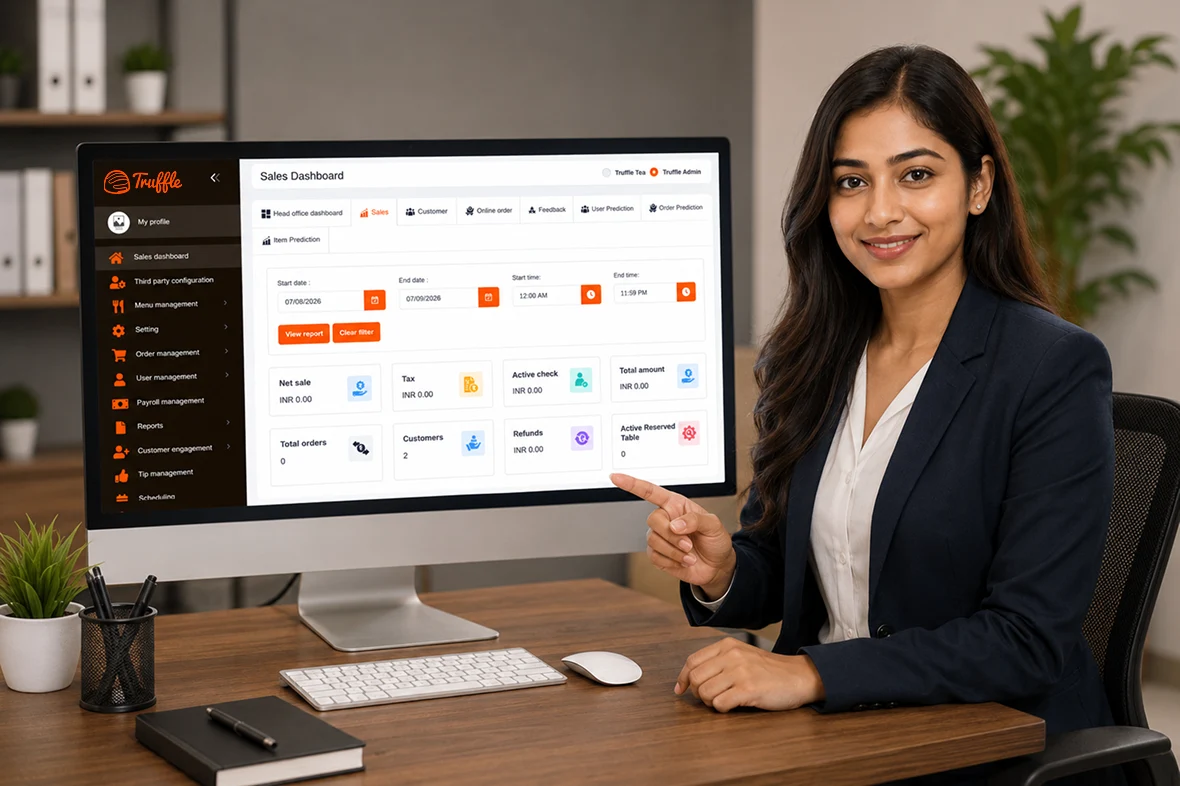
Menu updates, staff roles, orders, and payroll across kiosk, app, website, and every outlet all run through a single, secure admin panel.
Owners log in securely with role-based access permissions. Sensitive business data remains visible only to authorized users.

A real-time summary displays daily sales, active orders, and top-selling items. This gives owners a quick snapshot of overall business health.

Owners can add, edit, or remove categories, items, and modifiers. Updates reflect instantly across kiosk, website, and app platforms.

All orders from kiosk, website, app, and delivery are visible centrally. Owners can track status, manage cancellations, and view order history.

Owners can add staff and assign specific roles and permissions. This ensures controlled access to sensitive reports and settings.

Detailed sales, item-wise, and customer behavior reports are available. These insights support informed pricing and promotional decisions.

Owners can monitor payment collections across cash, card, and digital methods. Settlement reports help reconcile daily revenue accurately.

Owners can track and manage tips collected across kiosk, app, and website orders. Tip distribution to staff can be configured and monitored from the dashboard.

Owners can manage multiple floors, sections, or outlets within a single property. This helps organize operations for businesses with complex physical layouts.

Owners can configure table layouts, capacity, and availability for dine-in service. Table status can be updated in real time as reservations and walk-ins are managed.

Owners can manage staff salaries, working hours, and payment schedules. This streamlines payroll processing directly within the admin panel.
nventory, tax rules, refunds, and integrations are all configured from the admin panel, so what's on the books matches what's actually happening in the business.
Nine core capabilities that make Owner & Admin the only tool your front-of-house needs.

Restaurant owner signs up for a Truffle account with basic business details. An admin account is created with default owner-level access.

Owner enters restaurant details such as name, address, and contact information. This information is used across kiosk, website, and app platforms.

Owner uploads categories, sub-categories, items, and pricing for each branch. Modifiers and customization options are mapped to relevant items.

Owner configures table layouts, capacity, and floor/building sections. This enables accurate dine-in management from the start.

Owner adds staff members and assigns roles with specific permissions. This ensures controlled access based on job responsibilities.

Owner sets up payment gateways, tax rates, and billing rules per branch. This ensures accurate invoicing across all order channels.

Owner configures promo codes, discounts, and loyalty/reward point rules. These settings apply across kiosk, website, and app platforms.

Owner connects third-party services like delivery partners or POS/KDS systems. This ensures smooth data sync across all connected tools.

Owner reviews all configurations through a test run before going live. Once verified, the admin dashboard becomes fully operational for daily use.
From cozy cafes to bustling fine-dine Restaurants, we support all outlet types for seamless operations and growth!




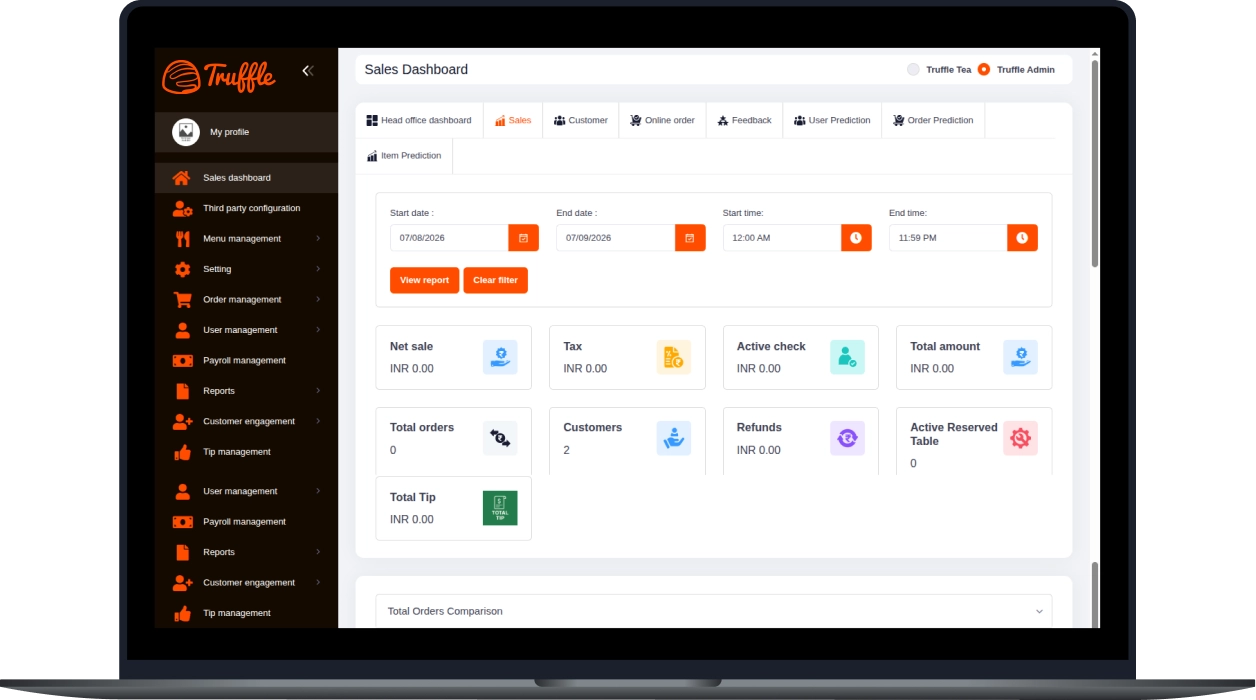
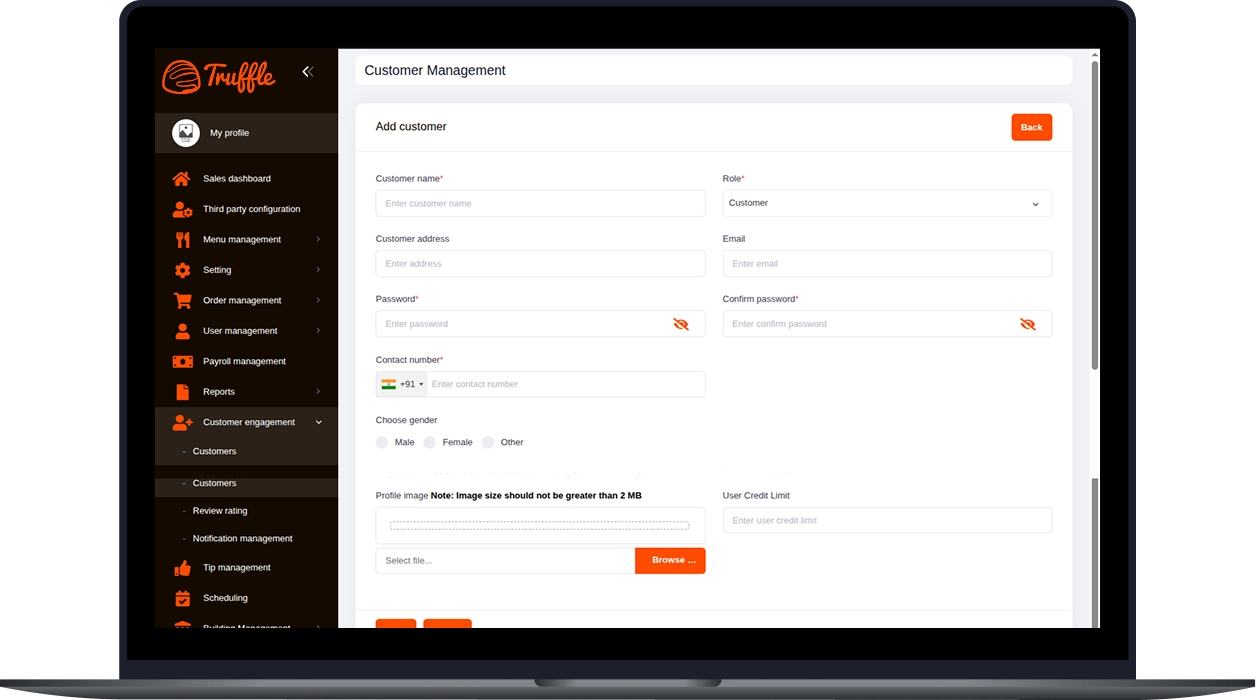
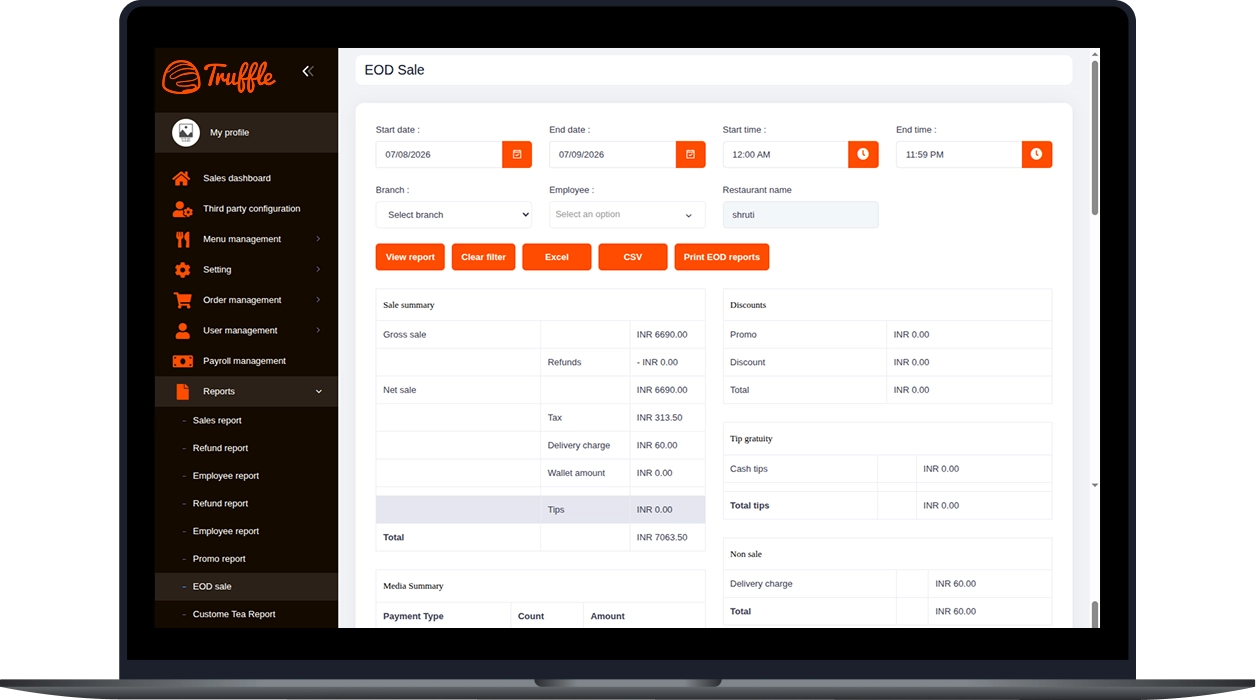
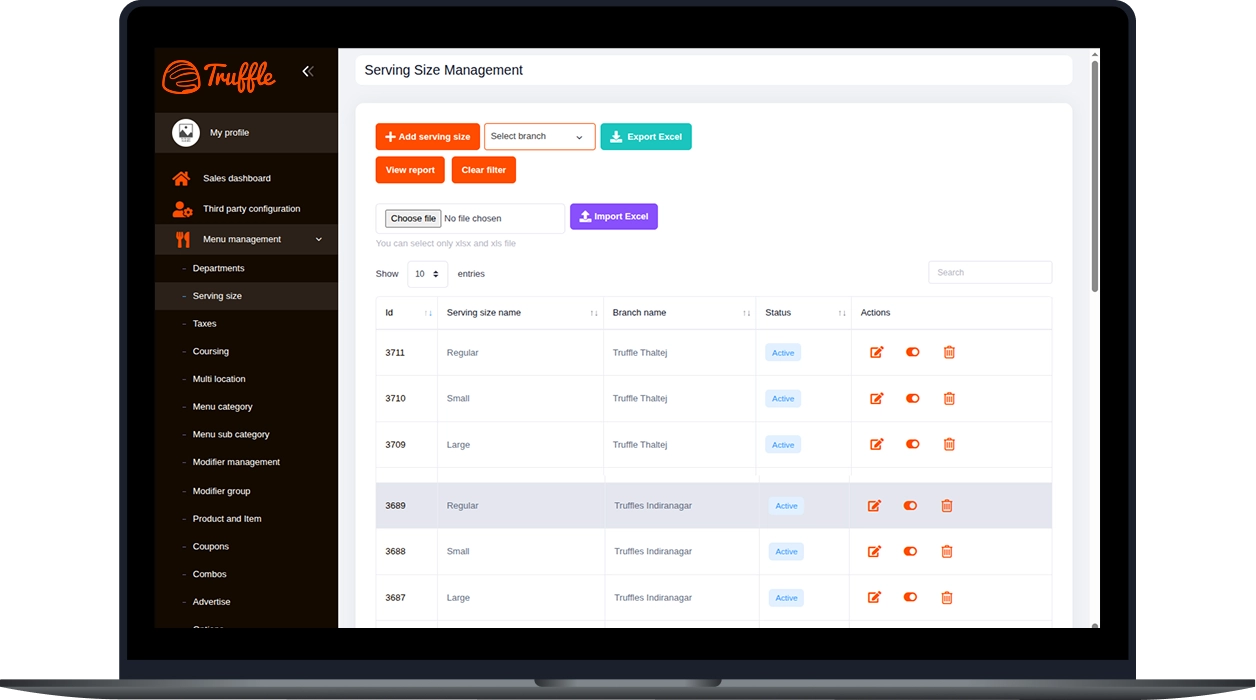
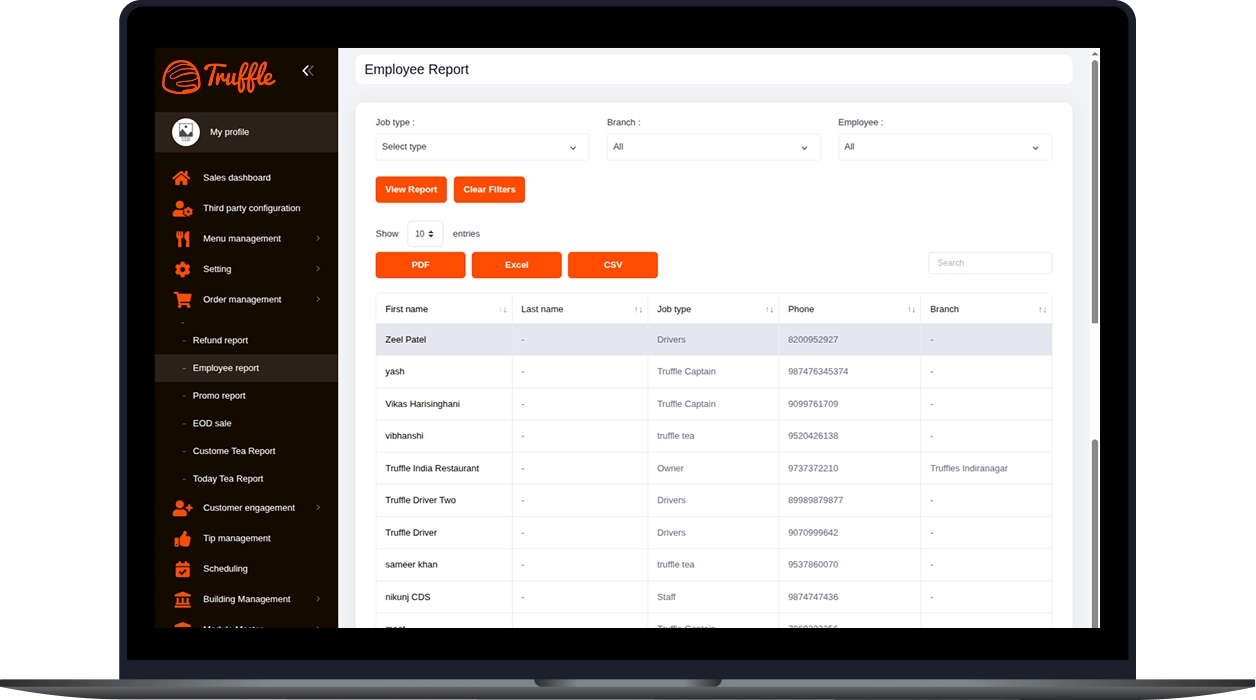
After logging in, you can access features based on your assigned role and permissions, including the Dashboard, Reports, Menu Management, Inventory, Employee Management, User Management, Payroll, and Store Settings.
The Dashboard provides an overview of restaurant operations, including sales, customers, employees, and inventory. You can also filter the data by branch and date range to view specific reports.
Go to the Product & Item section to create or update menu items. You can assign categories and subcategories, configure modifiers, prices, taxes, printers, and KDS settings, define multiple sizes, or mark items as inactive to hide them from the POS, User Web, and Mobile App.
The Inventory Management module allows you to manage stock by setting the minimum quantity, current stock (Item on Hand), item cost, and low stock alerts. This helps you monitor inventory levels and avoid stock shortages.
The Sales Reports section provides detailed reports, including Department Sales, Category Sales, Subcategory Sales, Menu Item Sales, Modifier Sales, Interval Sales, and Sales Summary. Reports can also be filtered by employee, date, time, category, menu item, and serving level.
Go to Employee Management to add new employees by entering their personal details, assigning payroll information, and selecting a role such as Staff, Manager, Owner, Kitchen Staff, or Driver. Employees can then log in to the POS using the credentials created for them.
Experience the future of transactions! Schedule a demo today and witness how our POS solution can revolutionize your business.